In this blog, we will understand how to Tensorflow GPU installation on a Nvidia GPU system. Steps involved in the process of Tensorflow GPU installation are:
- Uninstall Nvidia
- Install Visual Studio
- Install CUDA
- Install cuDNN
- Install Anaconda
- Install TensorFlow-GPU
- Install Keras
When I started working on Deep Learning (DL) models, I found that the amount of time needed to train these models on a CPU was too high and it hinders your research work if you are creating multiple models in a day. Later I heard about the superior performance of the GPUs, so I decided to get one for myself.
One of the basic problems that I initially faced was the installation of TensorFlow GPU. After a lot of trouble and a burnt motherboard (not due to TensorFlow), I learnt how to do it.
A few days earlier I spoke to someone who was facing a similar issue, so I thought I might help people who are stuck in a similar situation, by writing down the steps that I followed to get it working.
Step 1: Uninstall Nvidia
This may not look like a necessary step, but believe me, it will save you a lot of trouble if there are compatibility issues between your current driver and the CUDA.
Once you login to your system, go to the control panel, and then to the ‘Uninstall a program’ link. Then scroll below to the section with programs that have been published by the Nvidia Corporation.
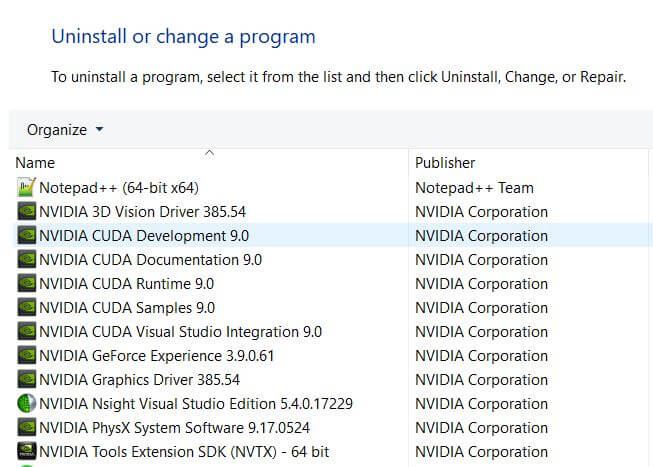
Here, you uninstall all the Nvidia programs. Do not worry if you have some drivers, they can be updated later once you finish the setup.
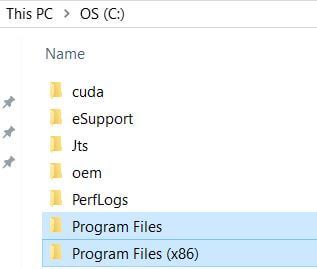
Once you have removed all the programs, go to the C drive and check all the program files folders and delete any Nvidia folders in them.
Step 2: Install Visual Studio
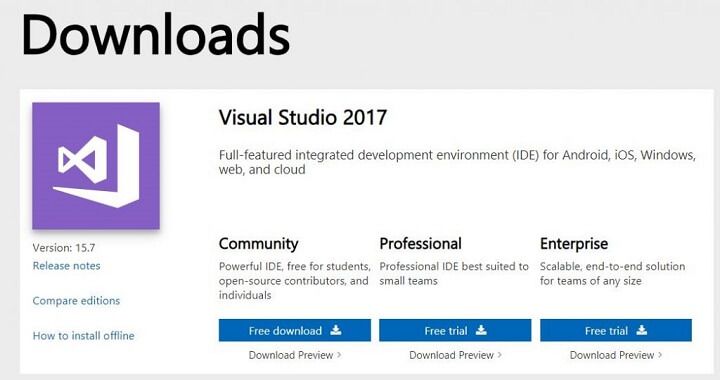
In the next step, we will install the visual studio community.
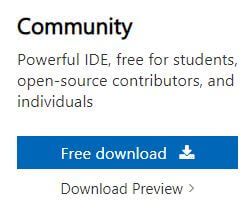
Here, make sure that you select the community option.
Once you have downloaded the Visual Studio, follow the setup process and complete the installation.
Note: Installing the Visual Studio Community is not a prerequisite. Any other IDE or no IDE could be used for running TensorFlow with GPU as well.
Step 3: Install CUDA
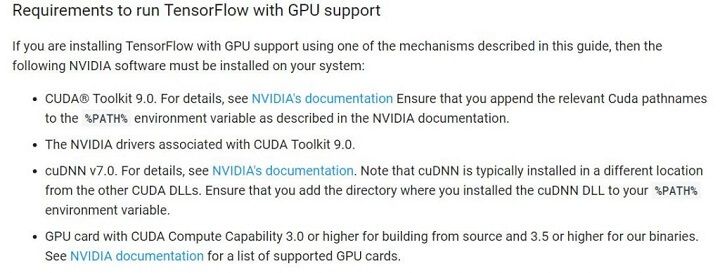
This is a tricky step, and before you go ahead and install the latest version of CUDA (which is what I initially did), check the version of CUDA that is supported by the latest TensorFlow.
I have a windows based system, so the corresponding link shows me that the latest supported version of CUDA is 9.0 and its corresponding cuDNN version is 7.
As it goes without saying, to install TensorFlow GPU you need to have an actual GPU in your system.
So please check if you have a GPU on your system and if you do have it, check if it is a compatible version using the third link in the above screenshot. Once you are certain that your GPU is compatible, download the CUDA Toolkit 9.0.
- Please choose your OS, architecture (CPU type of the platform) and version of the OS correctly.
- Then click on the exe(local) button.
- Now download the base installer and all the available patches along with it.
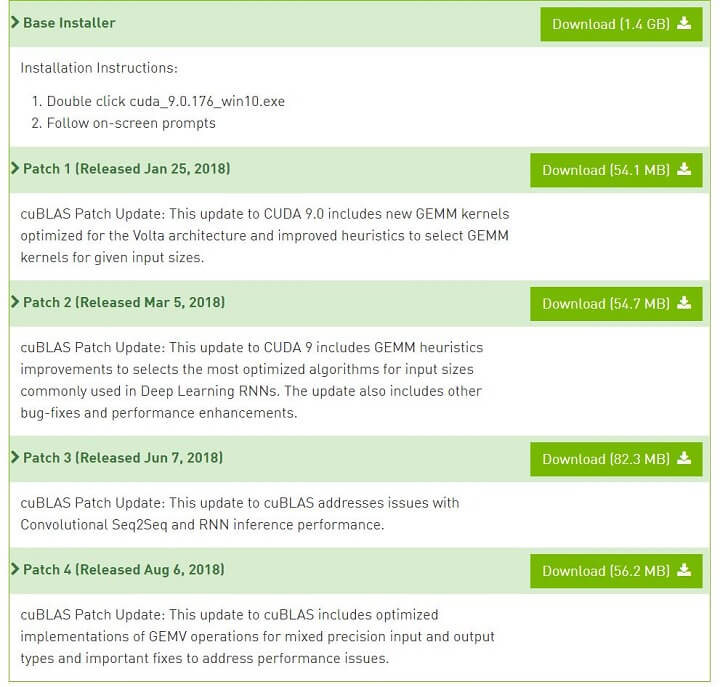
Once the download is complete, install the base installer first followed by the patches starting from Patch 1 to Patch 4.
If you face any issue during installation, please check the Nvidia forums.
Step 4: Install cuDNN
Once your installation is completed, you can download the cuDNN files.
- Here to download the required files, you need to have a developer's login. So, please go ahead and create your login if you do not have one.
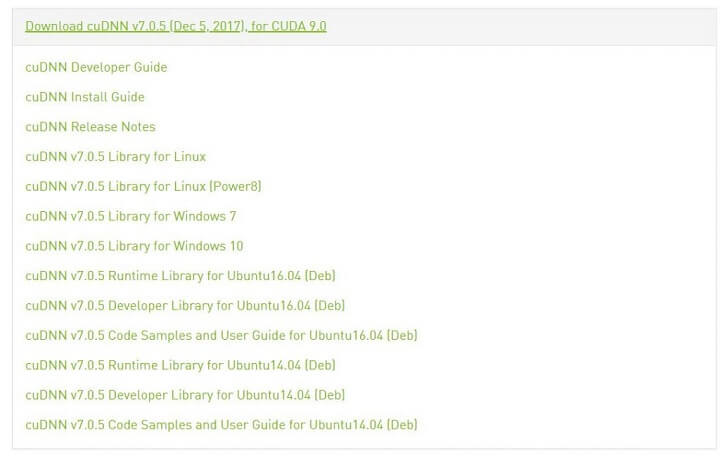
- Once you create your login and agree to the terms and conditions, visit the archived cuDNN files.
- Click on the cuDNN version 7.0 for CUDA 9.0

Then choose the appropriate OS option for your system.
This will download a zip file on to your system. Once you unzip the file, you will see three folders in it: bin, include and lib. Extract these three files onto your desktop.

Once you have extracted them. Go to the C drive, there you will find a folder named NVIDIA GPU Computing Toolkit.
Inside this, you will find a folder named CUDA which has a folder named v9.0. In this folder, you can see that you have the same three folders: bin, include and lib.
Copy the contents of the bin folder on your desktop to the bin folder in the v9.0 folder. Similarly, transfer the contents of the include and lib folders.
Once you are done with the transfer of the contents, go to the start menu and search for ”edit the environment variables”. Click on the search result and open the System Properties window and within it open the Advanced tab.
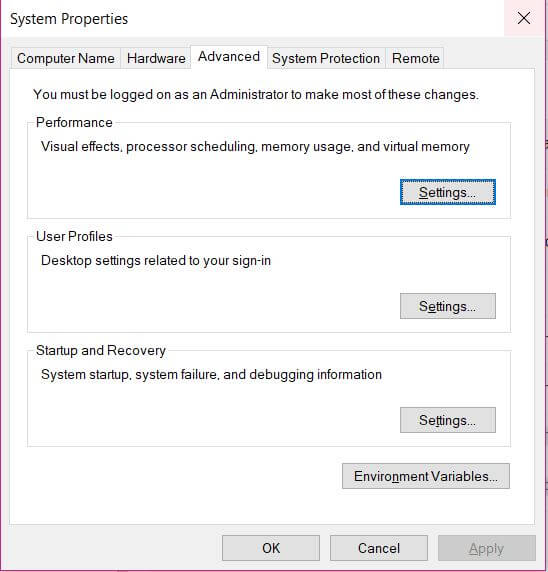
Now click on the 'Environment Variables',
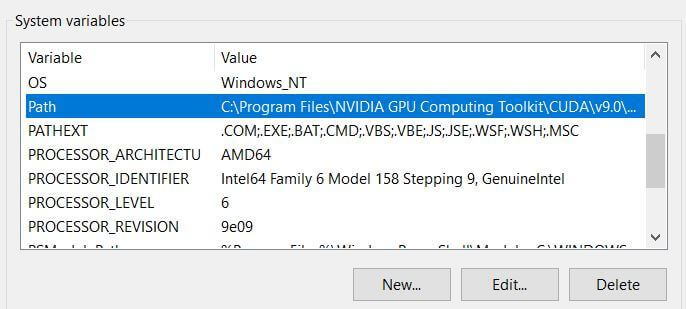
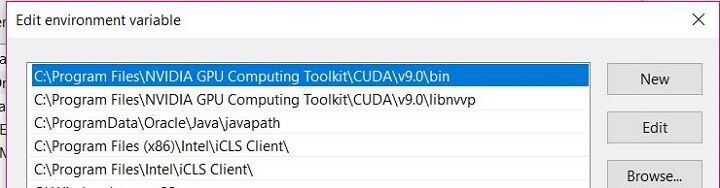
and under System Variables look for PATH, and select it and then click edit. Add the following two paths to the path variable:
- C:\Program Files\NVIDIA GPU Computing Toolkit\CUDA\v8.0\bin
- C:\Program Files\NVIDIA GPU Computing Toolkit\CUDA\v8.0\libnvvp
Once you are done with this, you can download Anaconda, and if you already have it, then create a Python 3.5 environment in it.
Step 5: Install Anaconda
To install Anaconda on your system, visit this link. Here choose your OS and the Python 3.6 version, then click on download. Follow the instructions in the setup manager and complete the installation process.
Once you have completed the installation of Anaconda. Create a Python 3.5 environment using the following command in the terminal or anaconda prompt.
conda create -n tensorflow python=3.5
Once the environment is created, activate it using the following command in the terminal or anaconda prompt:
activate tensorflow
Step 6: Install Tensorflow GPU
Once you have the environment ready, you can install the Tensorflow GPU using the following command in the terminal or anaconda prompt:
pip install --ignore-installed --upgrade tensorflow-gpu
You will need to specify the version of tensorflow-gpu, if you are using a different version of CUDA and cuDNN than what is shown in this blog. The above line installs the latest version of Tensorflow by default.
If you have any issues while installing Tensorflow, please check this link.
Step 7: Install Keras
Once Tensorflow is installed, you can install Keras. Using the following command:
pip install keras
Once the installation of Keras is successfully completed, you can verify it by running the following command on Spyder IDE or Jupyter notebook:
import keras
Some people might face an issue with the msg package. In case you do, you can install it using the following command:
conda install -c anaconda msgpack-python
Conclusion
I hope you have successfully installed the Tensorflow GPU on your system. In this article, we have covered many important aspects by installing Tensorflow GPU on windows, like:
- how to install Anaconda,
- how to install Tensorflow,
- how to install Keras.
We started by uninstalling the Nvidia GPU system and progressed to learning how to install Tensorflow GPU. Deep Learning models require a lot of neural network layers and datasets for training and functioning and are critical in contributing to the field of Trading.
To learn, how to apply deep learning models in trading visit our new course Neural Networks In Trading by the world-renowned Dr. Ernest P. Chan. It covers core concepts such as back and forward propagation to using LSTM models in Keras.
Disclaimer: All investments and trading in the stock market involve risk. Any decisions to place trades in the financial markets, including trading in stock or options or other financial instruments is a personal decision that should only be made after thorough research, including a personal risk and financial assessment and the engagement of professional assistance to the extent you believe necessary. The trading strategies or related information mentioned in this article is for informational purposes only.