By Mario Pisa
In this post we will describe step by step the installation process of the Python Zipline library on a Windows machine.
This is the overview of what we are going to do in this post:
Zipline - An Introduction
Zipline is one of the most complete libraries in Python that, together with the Pyfolio library, puts in our machine a complete backtesting platform to work with multiple classes of financial instruments and time frames.
Recommended read: Introduction To Zipline In Python
Backtesting is the process by which we test trading strategies with historical data or random series in order to understand their past performance and draw inferences about expected future behavior.
As programmers, except for the time, nothing blocks the development of a backtesting platform from scratch, but depending on the complexity it can become a project which lasts for years. Therefore, having the right tools allows us to focus almost exclusively on the implementation of the trading strategy and to accelerate the backtesting process.
Recommended read: Importing CSV Data in Zipline for Backtesting
Before embarking on the installation process remember that you can experiment with the library directly in Blueshift that has connection to data from different markets and time frequencies ready to use.
If you like to make your life a little more complicated, keep reading.
Setting up a Windows machine on AWS
The first thing we need is a machine capable of running Python, almost any machine more or less modern works for us, from a simple RaspberryPi or a Linux, Mac or Windows PC.
For this post we are going to use a Windows Server machine from Amazon Web Services (AWS) so the first thing is to start this machine. If you are going to install Zipline on your local machine, you can skip to the next step.
If this is the first time you use AWS you must create an account with them before setting up an EC2 machine.
Step 01 - Connect to your AWS EC2: https://console.aws.amazon.com/ec2
Step 02 - Click on Running instances.

Step 03 - Click on the Launch Instance button.

Step 04 - Select a Windows instance. i.e. Microsoft Windows Server 2019 Base:

AWS has a wide range of machine configurations from simple and free machines to supercomputers, choose the one that best suits your project and budget. For this simple example with the machine they call "Free tier eligible" is enough.
Step 05 - Choose an instance type as the t2.large with 8Gb RAM or any other that suit your needs.

Step 06 - Click on Review and Launch button.
Step 07 - Review the details for your instance and click on the Launch button. (here we accept the default configuration).
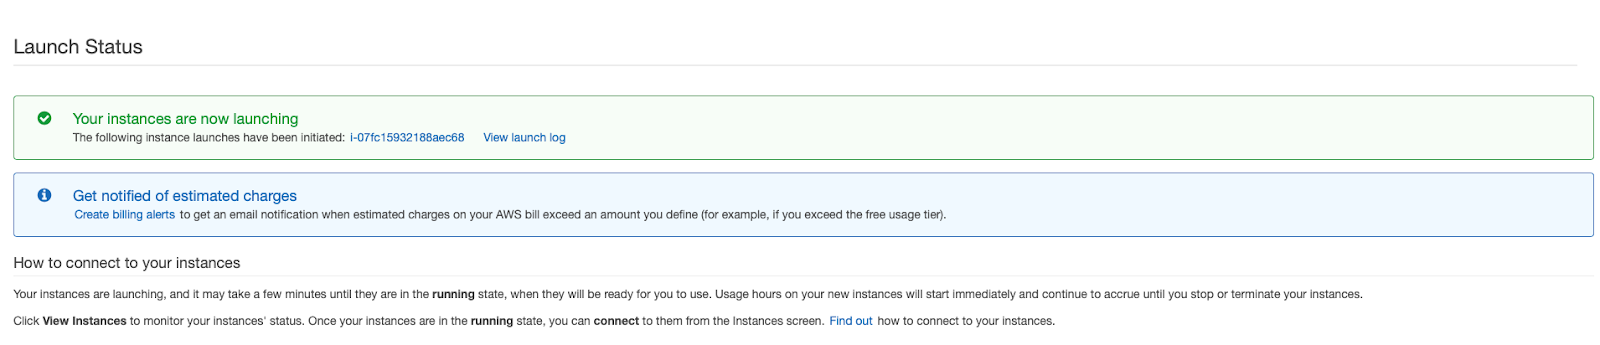
Step 08 - Now we have running an instance of a Windows 2019 Server ready to use:

Step 09 - Click on the Connect button to get the DNS, Username and password for the instance.
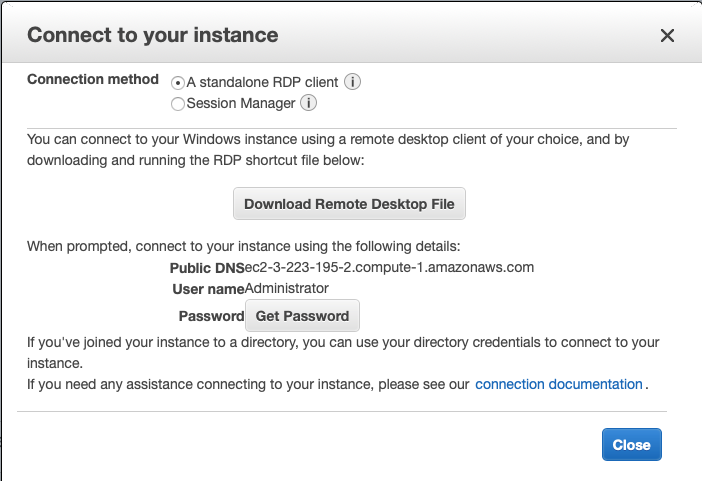
Step 10 - Start up the remote administrator tool and connect to the remote machine using the credentials from the last step.
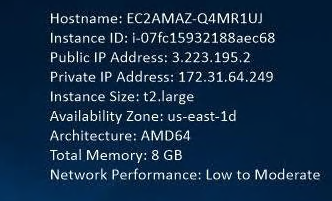
Here we have a remote Windows machine ready to use.
Install Anaconda
In this step we will install Anaconda which is a data science suite that includes multiple tools. It is really not required to install so many tools and with Miniconda it would be enough for our purpose.
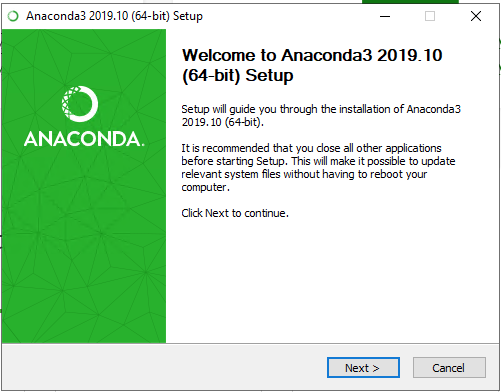
Step 01 - Let’s install Anaconda 2019.10 for Windows with Python 3.7
https://www.anaconda.com/distribution/

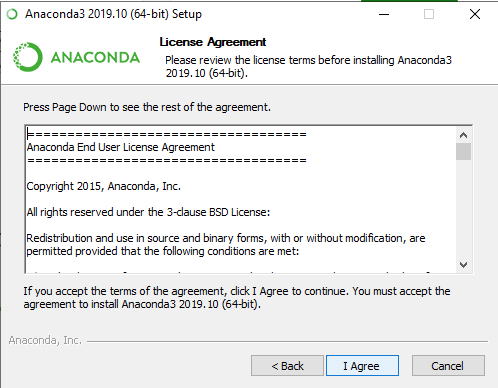
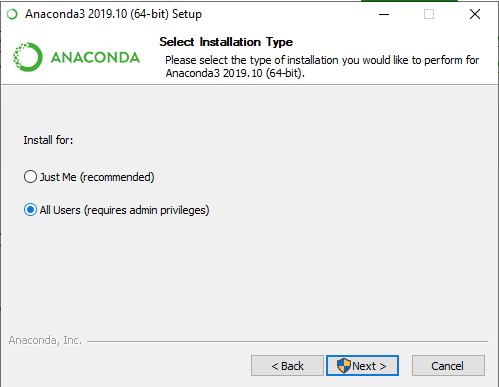
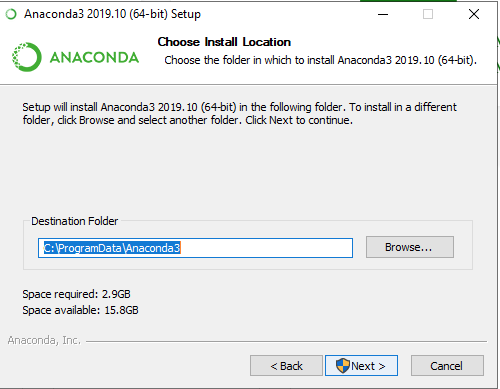
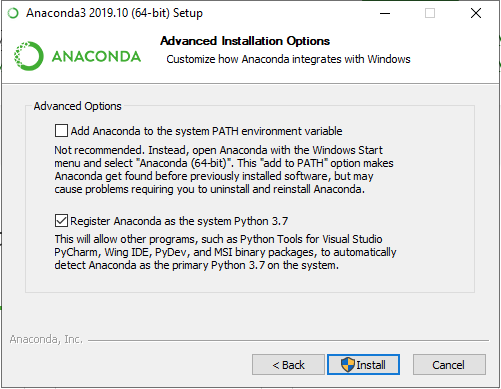
Step 02 - When the download process has finished, we can start the installation itself.
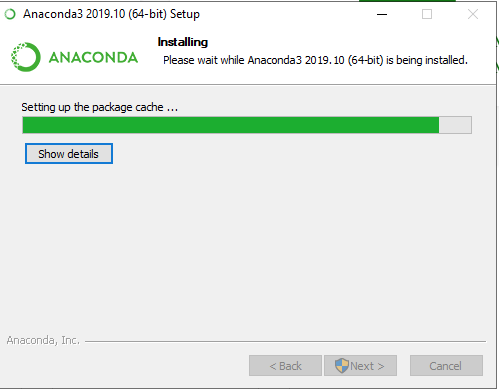

Now we have the Anaconda suit installed on our machine.
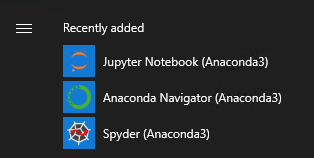
Step 03 - Launch the Anaconda Navigator:
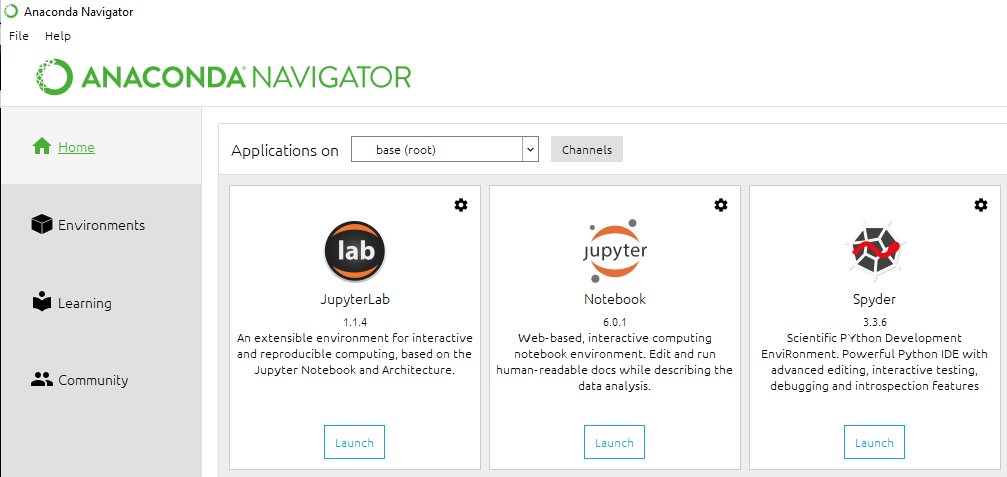
Step 04 - Click on Environments button:
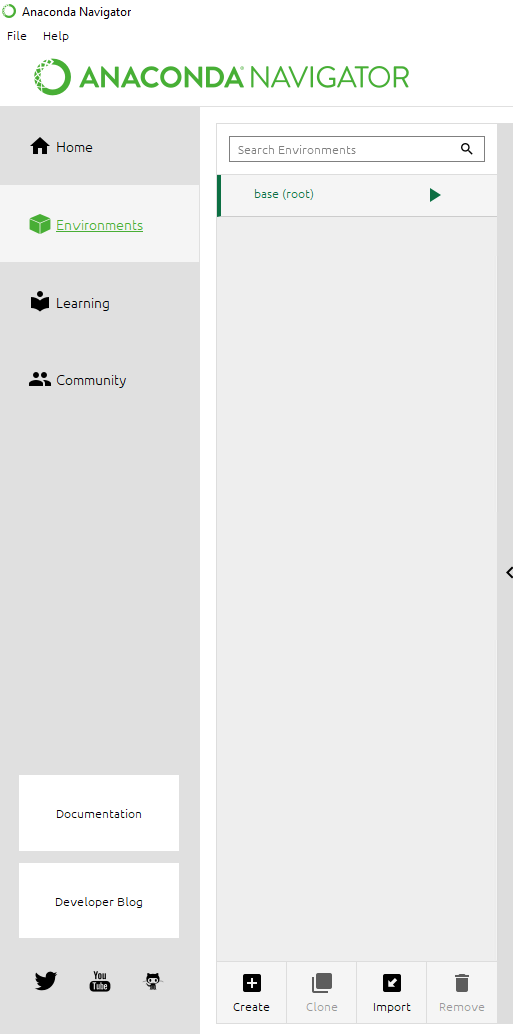
Step 05 - On the base root environment, click on the play button to start-up a Conda terminal.

Create a Conda environment for Zipline
A Conda environment is a container that lets us deal with different versions of Python and its libraries. For example, we can have an environment with Python 3.5 and Pandas 0.24 and another environment with Python 3.7 and Pandas 1.0.3. This is very useful to isolate specific versions for a project.
Step 01 - Let’s check the conda environment with the command:
> conda env list
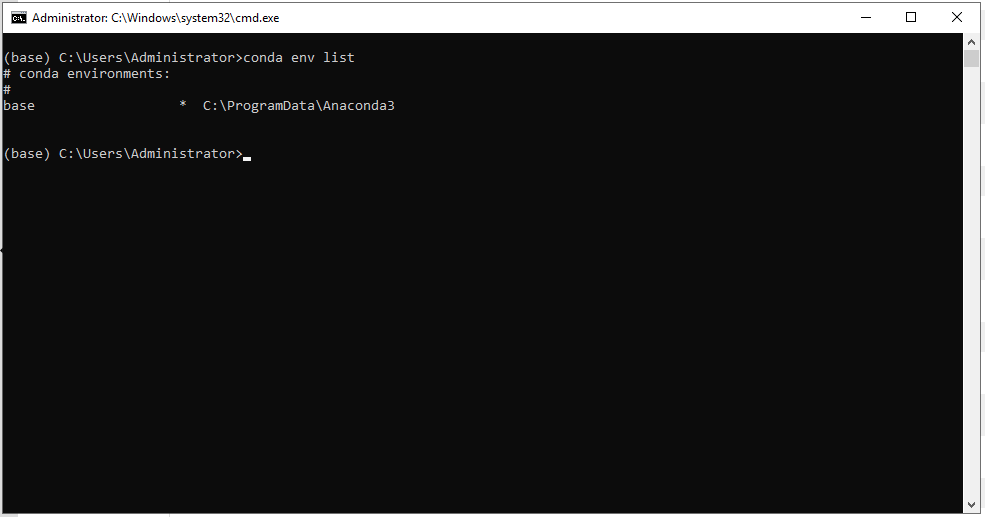
At this point, we only see the base environment installed by default.
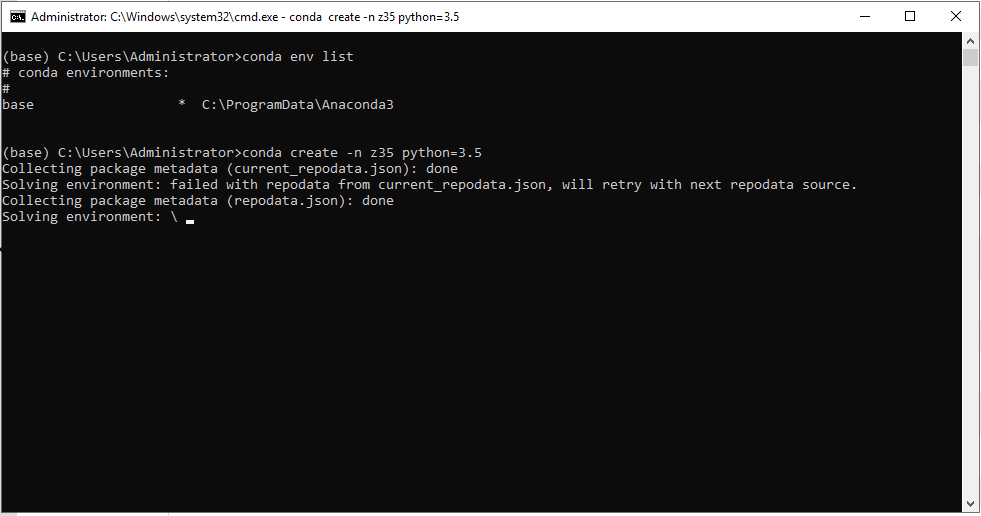
Step 02 - Now let’s install a new environment named “z35” with Python 3.5:
> conda create -n z35 python=3.5
Step 03 - Again, let’s check the conda environments to see our new z35 environment:
> conda env list

Step 04 - Now, we go to activate the z35 environment:
> conda activate z35

The asterisk indicates the active environment.
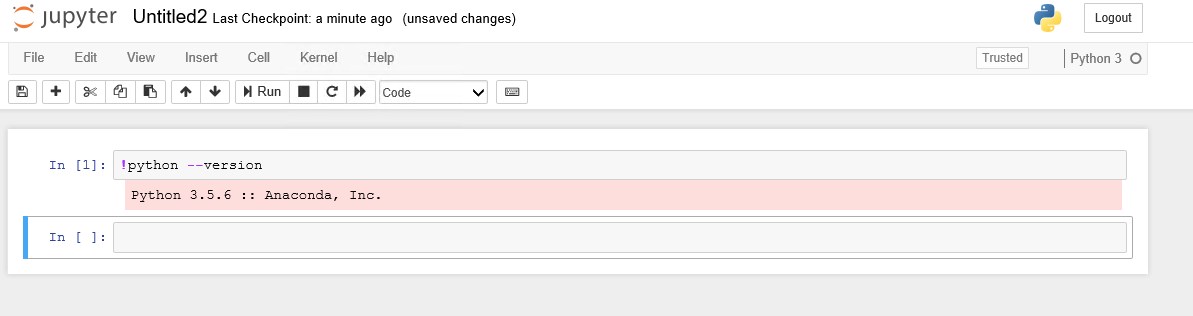
Step 05 - Let’s try to check the Python version:
> python --version

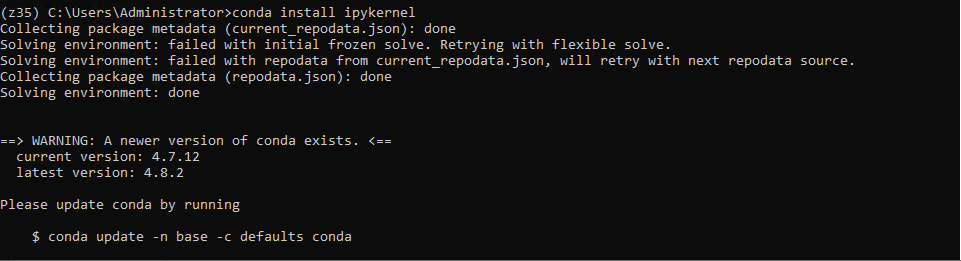
Step 06 - Install the ipykernel:
> conda install ipykernel
> python -m ipykernel install --user

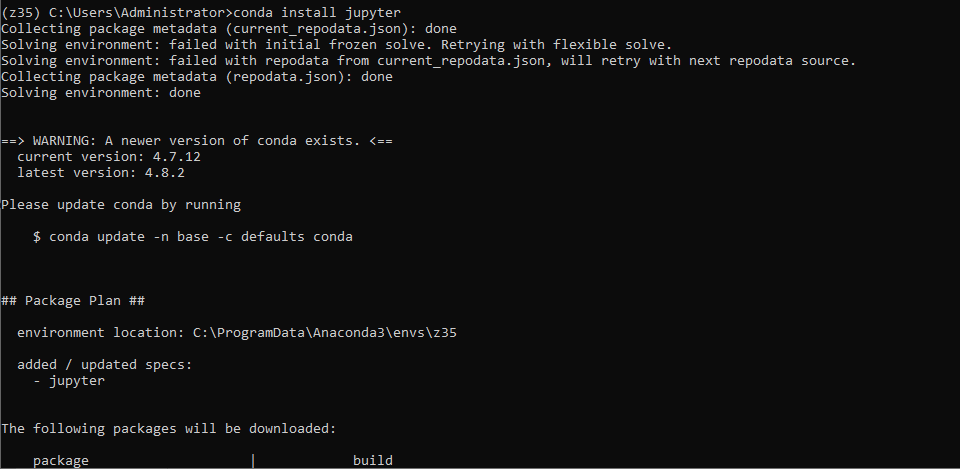
Step 07 - Install Jupyter:
> conda install jupyter
Step 08 - Start up the Jupyter notebook:
> jupyter notebook
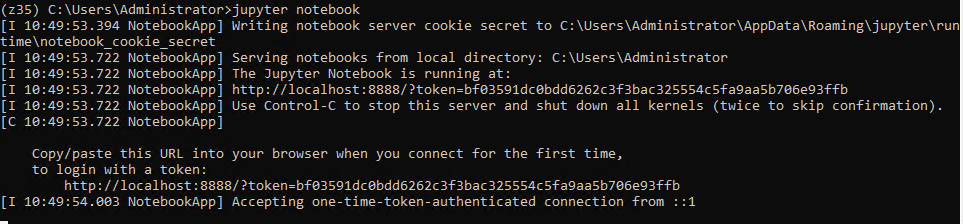
The default web navigator opens the Jupyter application.
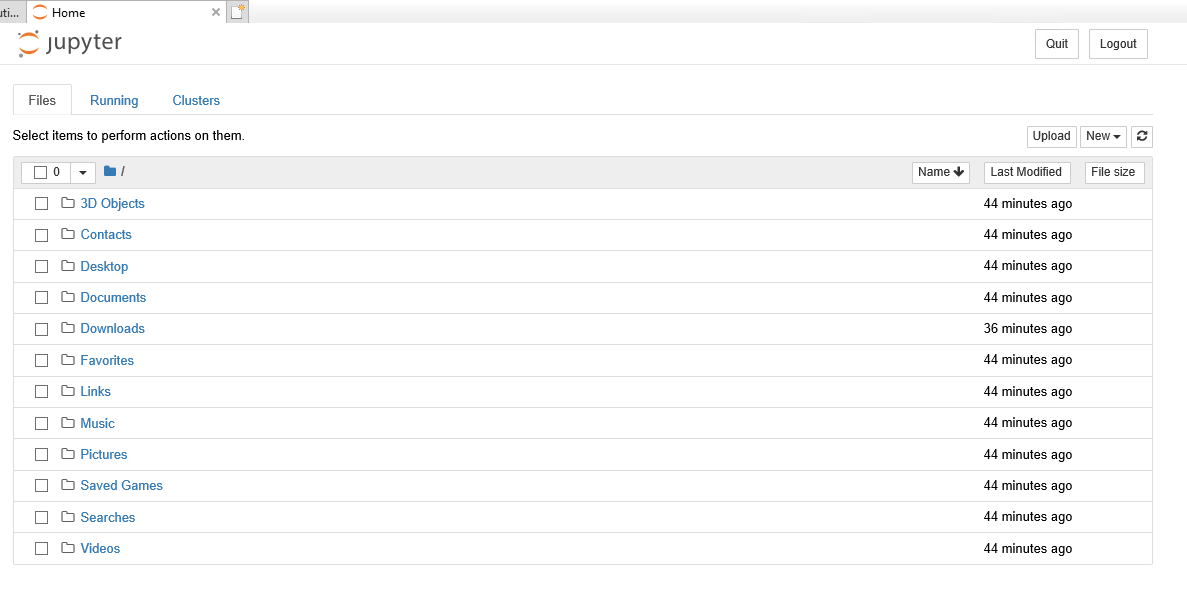
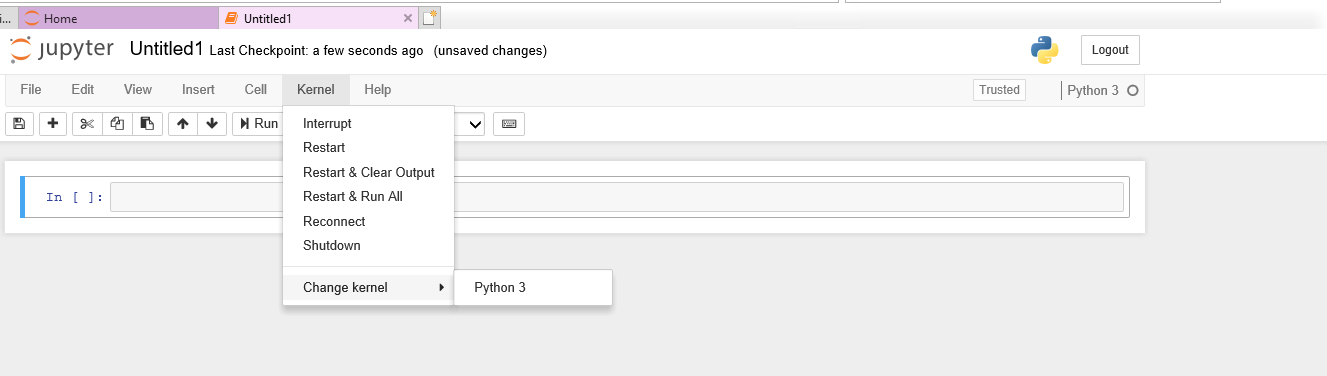
Step 09 - Create a new notebook and select the z35 kernel.
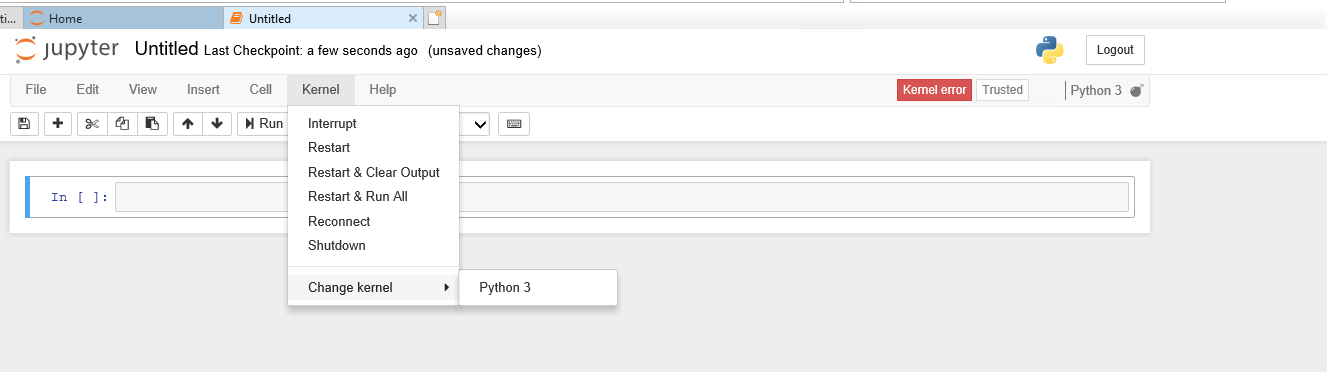
If the notebook shows the message: Kernel Error! That means the new environment doesn’t exist!
What’s happened with our z35 environment?
We have installed the ipykernel on Conda, but we need to install it on Python3 too.
Step 10 - Trying to fix the error:
> python3 -m pip install ipykernel
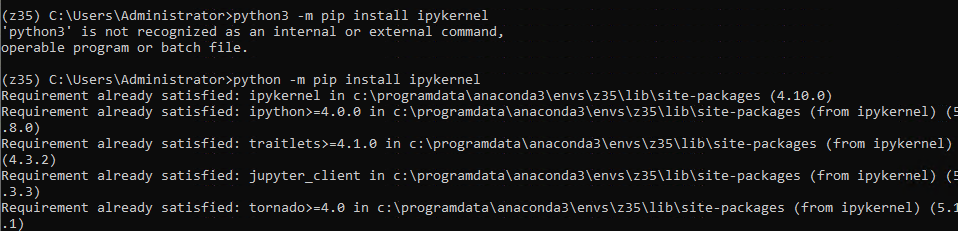
> python3 -m ipykernel install --name z35 --user

Step 11 - Start up the Jupyter notebook again:
Step 12 - Start up the Jupyter notebook again:
Now we have installed Jupyter notebook on Python 3.5 within the z35 environment.
Setting-up the Zipline Conda environment
So far we have a Windows machine running with the Anaconda suite with Python 3.7, we have installed a new Python 3.5 environment called z35 and we have also installed the kernel for Jupyter notebook and checked that we have access to our z35 environment.
Now we have to install the required Python libraries to run Zipline. Although we can install everything at once, we are going to install the generic libraries and then focus on installing the Zipline library in a particular way.
Step 01 - Let’s install the Numpy, Pandas and matplotlib libraries:
> conda install numpy pandas matplotlib

Step 02 - And the zipline library to get the installation messages only for that library:
> conda install -c conda-forge zipline

Step 03 - Now, we start up the notebook again to check if the zipline library is successfully installed:
> jupyter notebook

That’s great! The zipline library has been imported successfully.
Retrieving data from Quandl (ingest process)
We now have installed the zipline library. To test some code we need to retrieve data with the ingest process. For this we need to register in Quandl and get the personal key:https://data.nasdaq.com/publishers/QDL
After that, it’s needed to include the Quandl API key into a system variable named QUANDL_API_KEY, the command to do that is as follow:
> Set QUANDL_API_KEY=”<YOUR_API_KEY>”
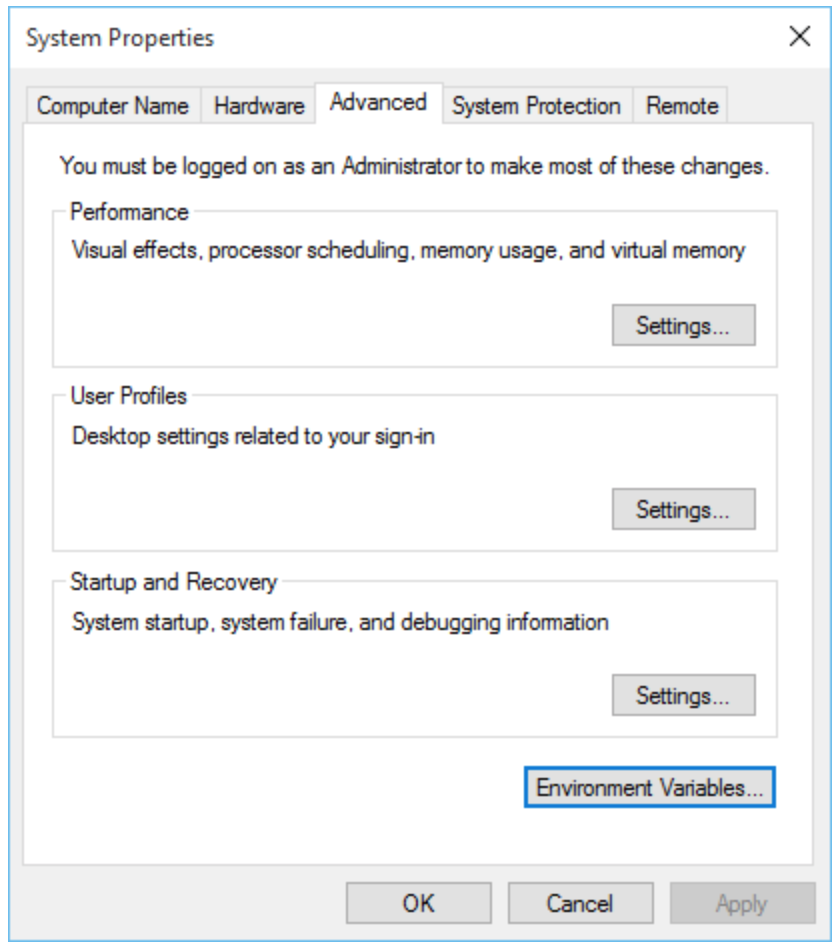
Step 01 - Set-up the QUANDL_API_KEY environment variable:

If you want to configure the environment variable as permanent, you can include it on the System Properties window, clicking on the Environment Variables button.
Now, we have installed the Zipline library and created a Quandl account, got the token to retrieve data from Quandl Wiki DB and configure our Windows machine with that token. It’s time to retrieve the Wiki DB datasets in order to play with them on Zipline backtesting.
Step 02 - Ingesting data from Quandl:
> zipline ingest -b quandl

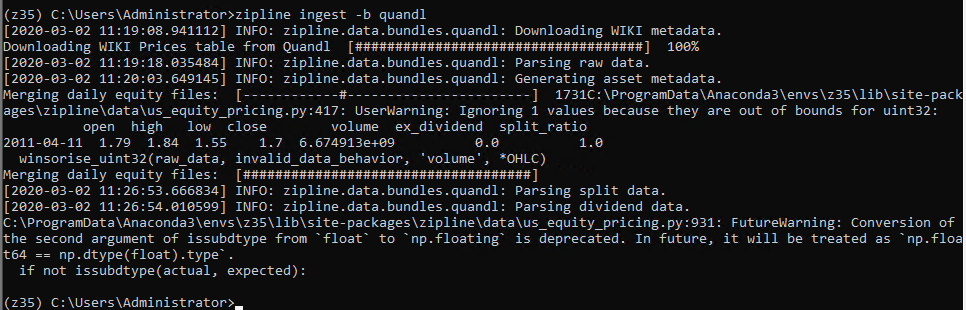
Now we have some data from Quandl Python API to test some strategies. It’s time to test a basic strategy.
Zipline actually has an issue with dates before 2000, so it’s needed to apply a workaround on the benchmark.py script located in the zipline installation folder. Locate it and modify it by commenting the content and putting on it this text.
Use the command conda env list to look for the benchmark.py script inside the zipline z35 environment created before.
Step 03 - Apply the workaround on the benchmark.py

Perform a simple backtest
Start up Jupyter and create a new notebook.
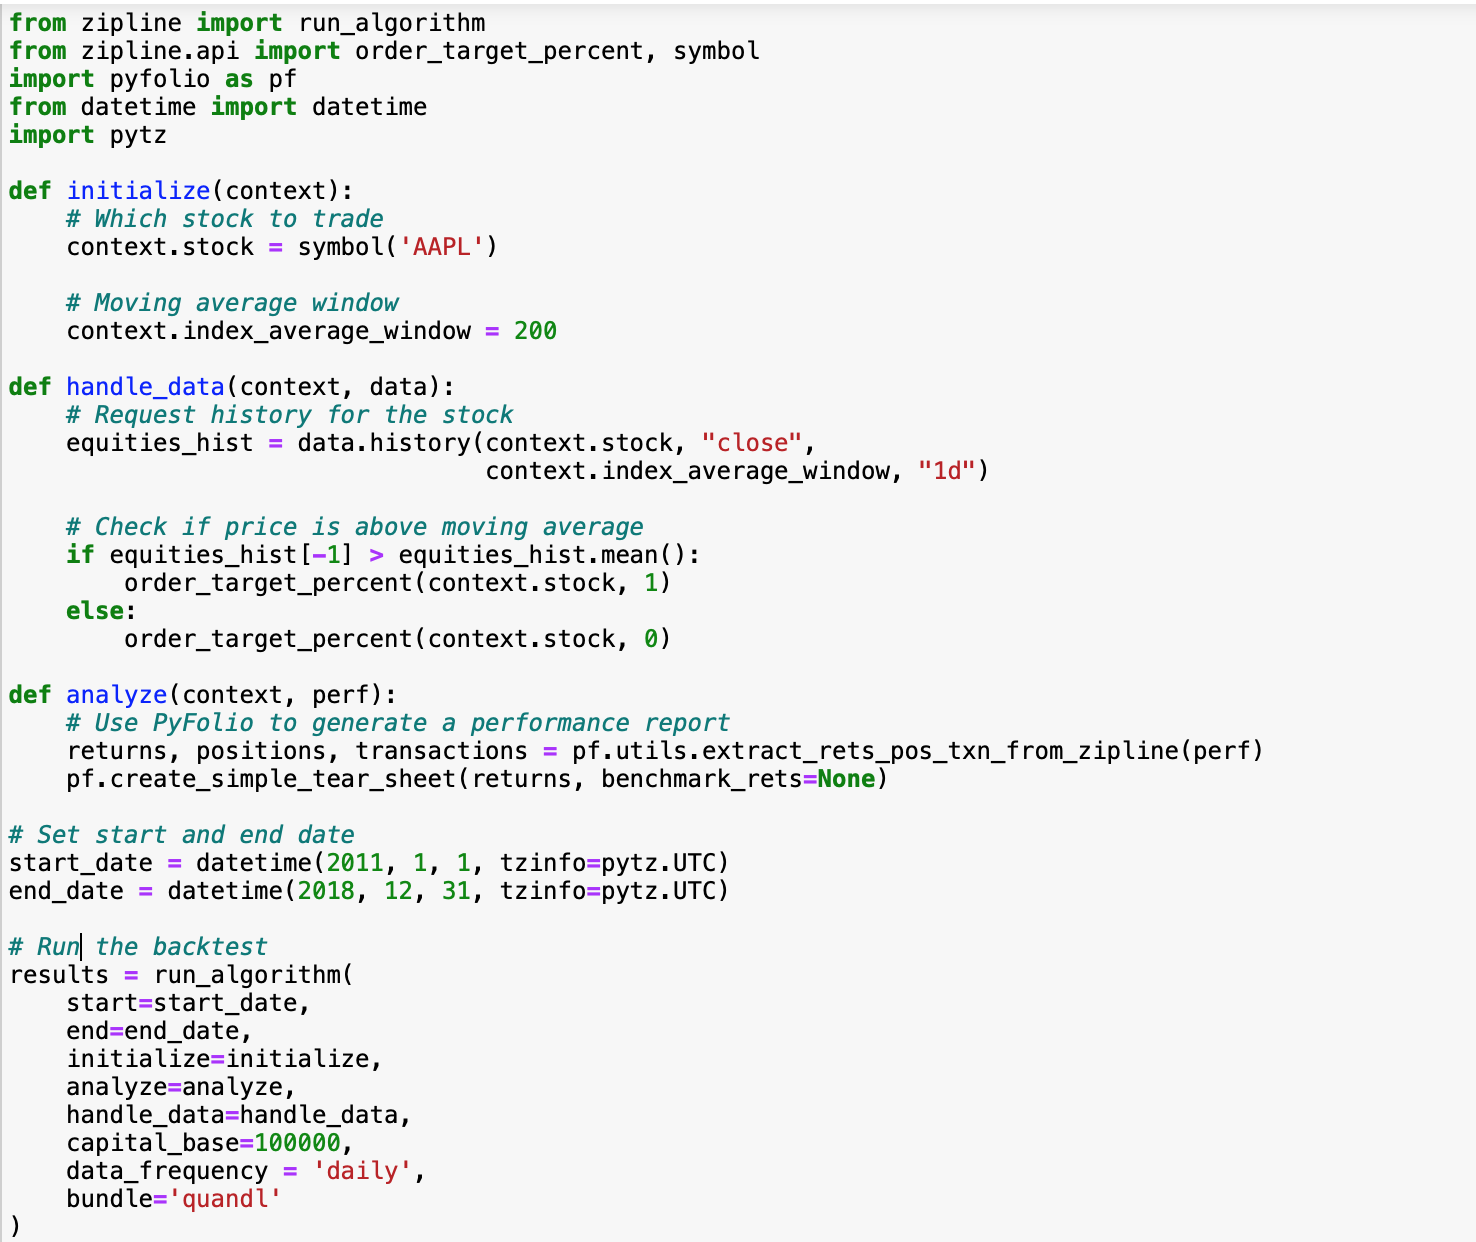
The following code is adapted from Andreas Clenow’s Book “Trading evolved” and is a simple algorithm that buy a stock when the price cross up the moving average and close the position when the price cross down the moving average.
Generate a performance report
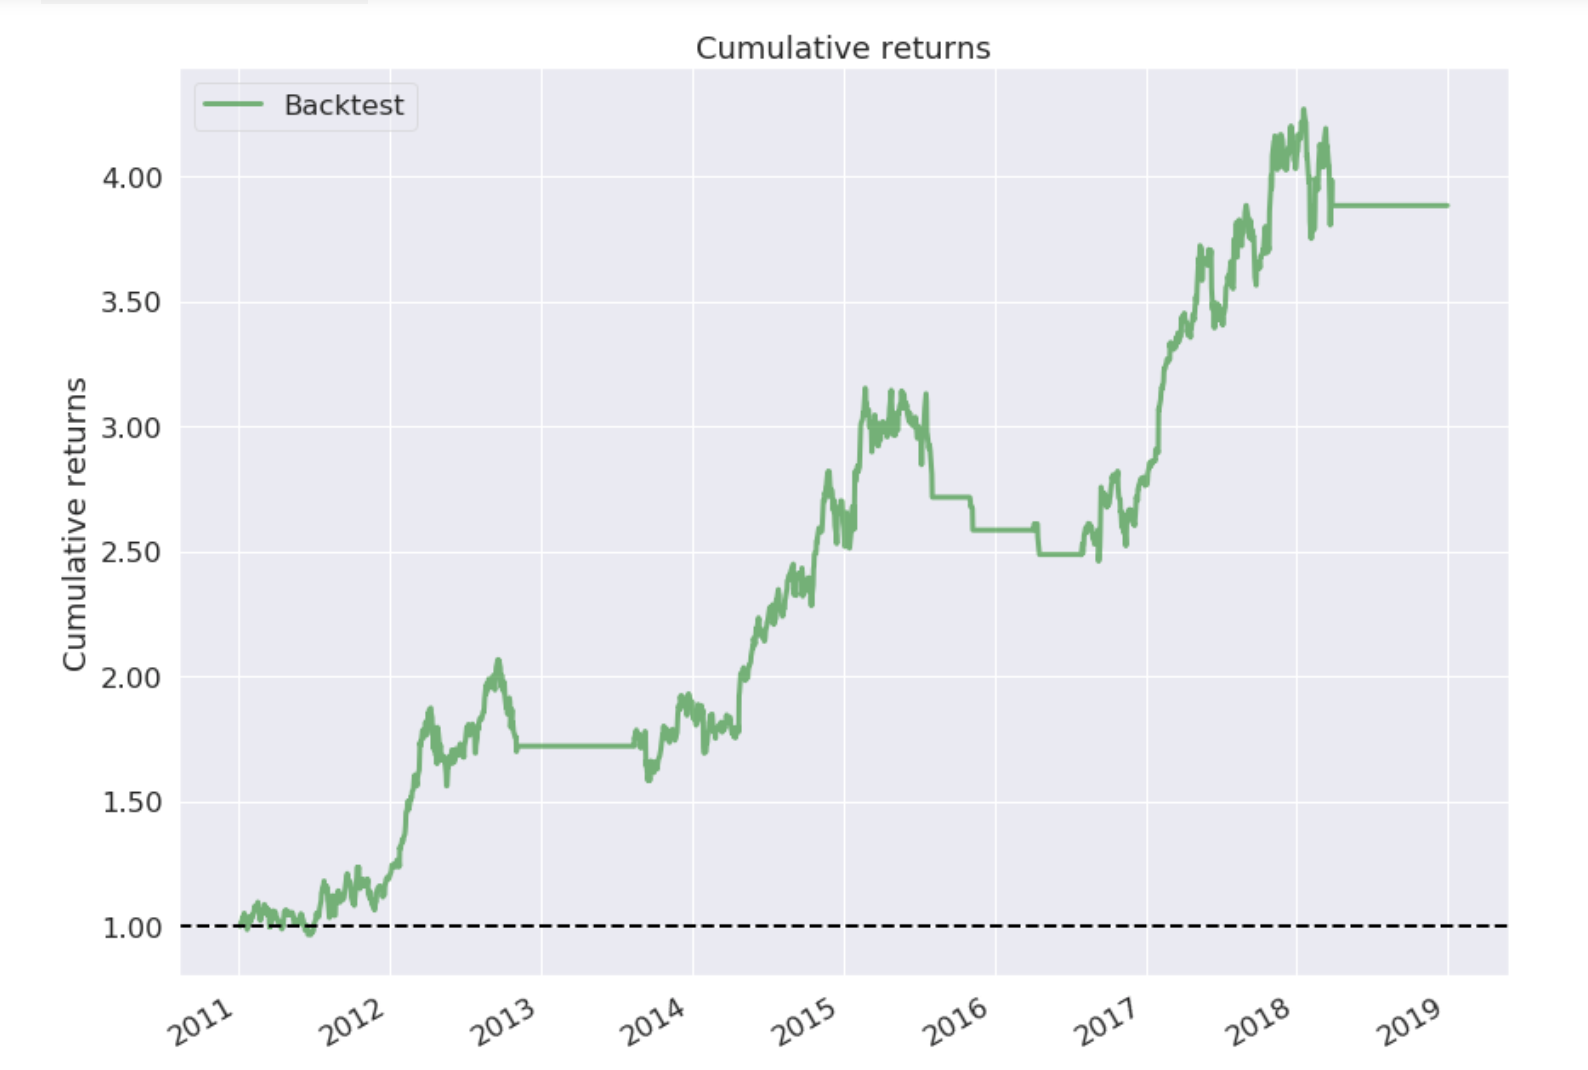
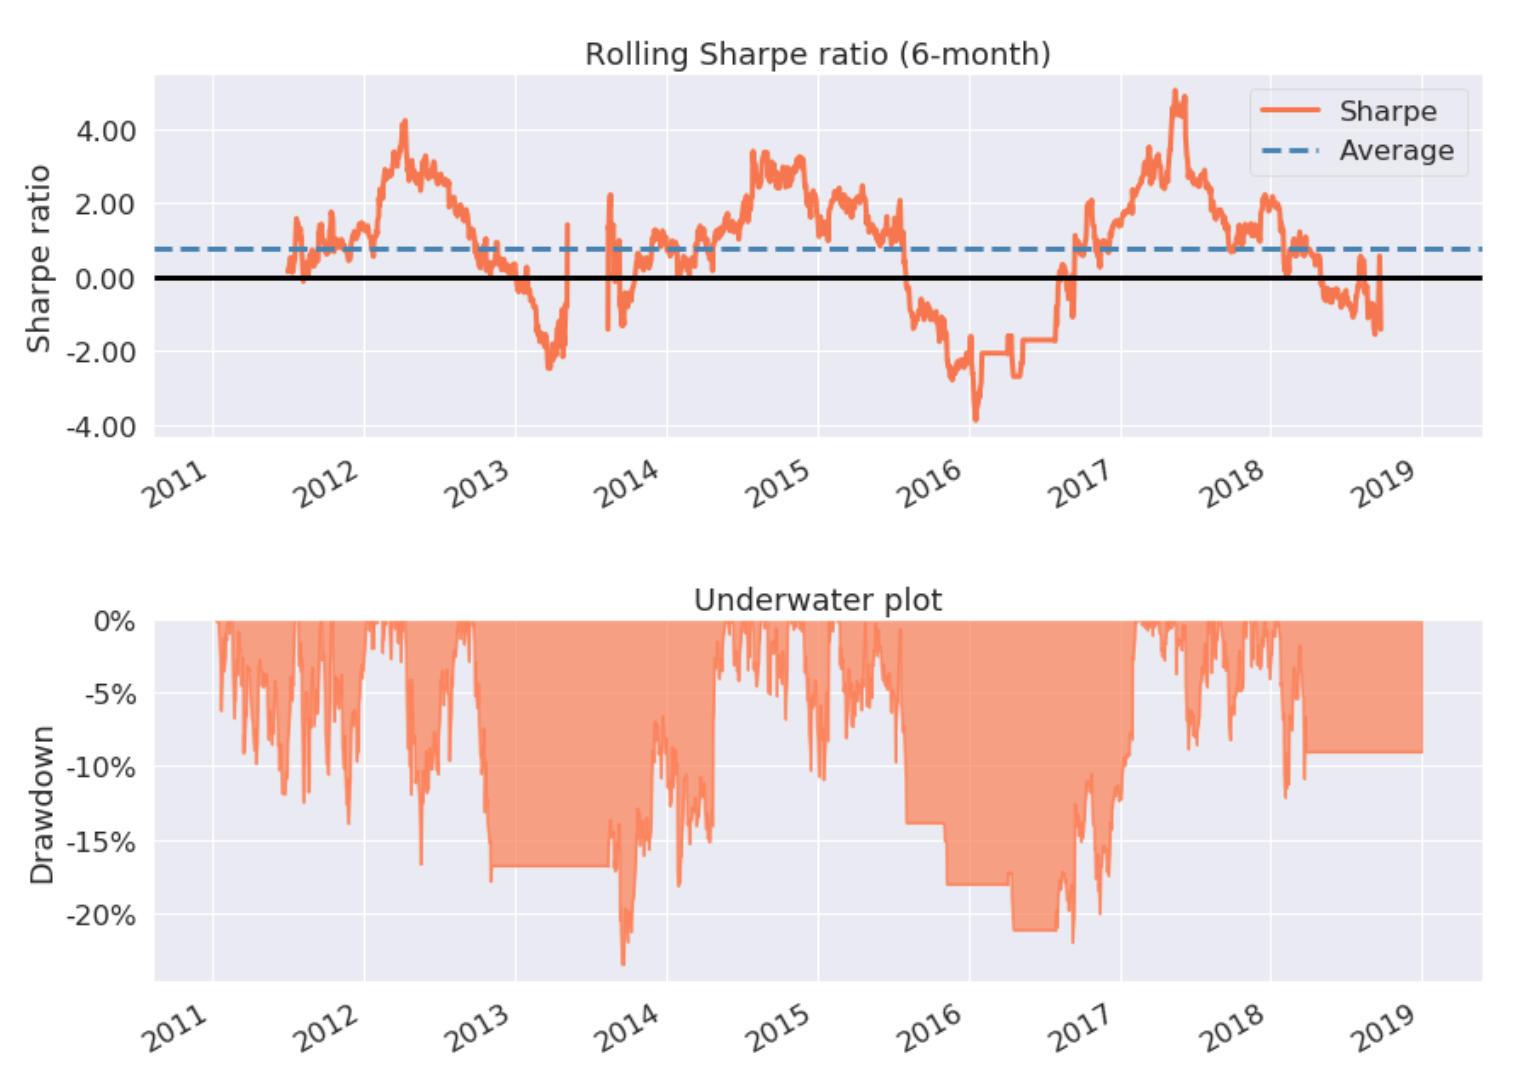
If all things go well, the backtesting ends with a statistics table and some simple performance charts.
In the ‘analyze’ function, we can write any code to analyze the backtesting, here we have using the Pyfolio library to create a simple tear sheet for the returns. Worth to study that library to extract all its power.

Conclusions
Although in this post we have installed the Zipline library for backtesting on our local machine, the battle has only just begun as the data ingestion process must be adapted to each data provider and market schedules.
On the other hand, the Zipline library is undoubtedly a powerful tool for backtesting, but it does not allow us to easily switch to real-time, so there is a parallel development of the library with this capability ie. http://www.zipline-live.io/
Finally, we can exploit the capabilities of this library without the need to install it in our machine with the Blueshift platform that has several markets ready to use in real time.
Disclaimer: All data and information provided in this article are for informational purposes only. QuantInsti® makes no representations as to accuracy, completeness, currentness, suitability, or validity of any information in this article and will not be liable for any errors, omissions, or delays in this information or any losses, injuries, or damages arising from its display or use. All information is provided on an as-is basis.
References
- Quantopian
- Blueshift
- Zipline.io
- Pyfolio
- Book: Trading Evolved by Andreas Clenow